Lone Star Saloon
Project Overview
- An arcade shooter with bar management mechanics
- Takes place in an old Western saloon being invaded by aliens
- Developed in Unity
- I worked with a 7 person team with a little over a month to complete this project
What Did I Do?
- Created an immersive and detailed Wild West Saloon environment in Blender and Adobe Substance Painter
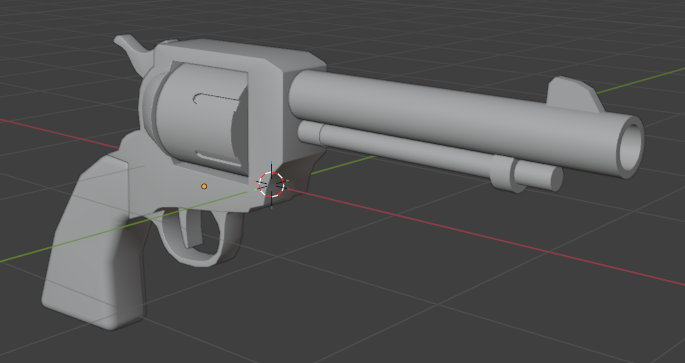
- Modeled and textured all of the weapons in Blender and Substance Painter
- Created VFX for weapon muzzle flashes and damaging enemies
- Animated all enemies and the friendly NPCs
- Created the baked lighting for the scene.
- Made the initial prototype, pitched the idea, and helped form the team
ENVIRONMENT & WEAPON ART
My Workflow For This Project
Phase 1: Ideate
In my opinion, easily the most important part of the process. What you do here can make or break a project.
1.) Communicate with level designer to figure out the layout of the room and get a feel for scales and constraints
In the beginning of the project, I made sure to have a thorough conversation with our designers to nail down how they wanted the level to feel and read visually for the players.
2.) Clearly define primary and secondary props in terms of importance to the end product
This project is a great example of how the ever-changing vision of designers can cause problems if you aren’t constantly in communication with each other. Initially, there was no bar-management aspect of the game, and the player’s camera was locked to looking forward. Then during pre-production the designers shifted to a fully realized bar with serving drinks as a new mechanic and VR support planned. If I didn’t stay in the loop of the new “must-have” assets to fit the gameplay changes, my job would have been a whole lot harder and the game may have ended up having lower quality or outright missing primary assets.
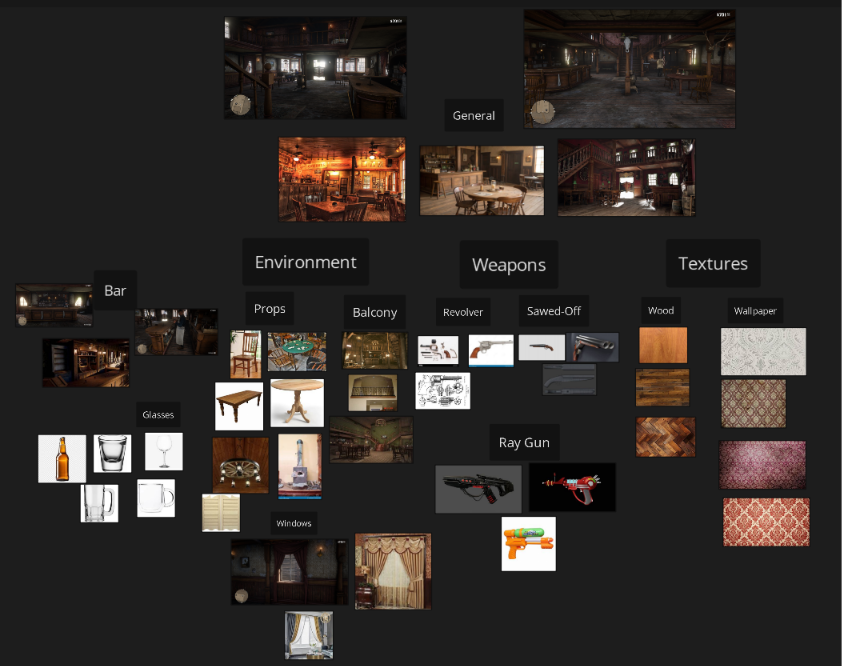
3.) Gather a thorough collection of reference images
In this project, I used a ton of reference images. Some of my references I found just on my Xbox walking around the interior environments of Red Dead Redemption 2 and then screenshotted.
Phase 2: Produce
This is where the real work happens. It’s also where I’m most comfortable.
4.) Blockout and import most important assets to confirm they fit with the vision of the designers
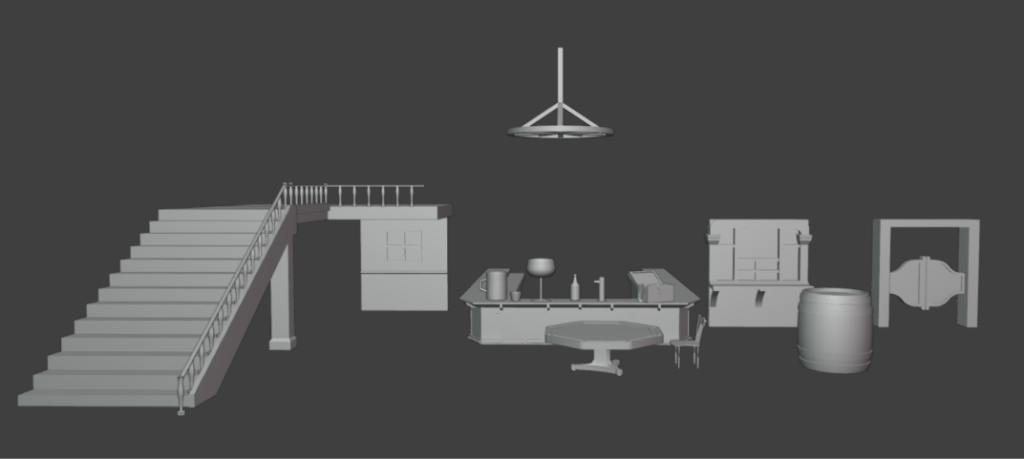
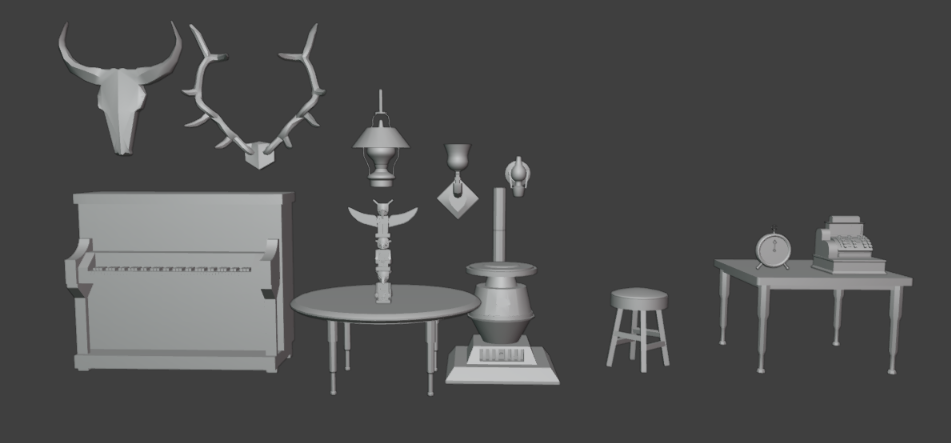
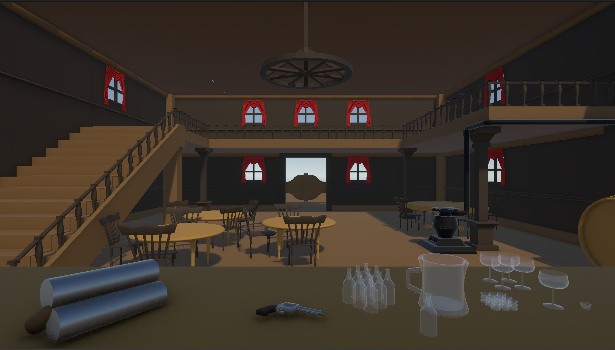
This is why transparency with your designers is so valuable to me. It helps smooth out the pipeline because setting up the most important assets early guarantees that you know exactly what you need to do. For my case, the designers made this list of the assets needed to reach Minimum Viable Product:
– Staircase
– Balcony
– Walls
– Bar Counter
– Chandelier
– Table & Chair
– Shot glass, wine glass, beer bottle, glass mug, and bar tap
– Saloon Doors
– Barrel
– Cabinet behind the bar
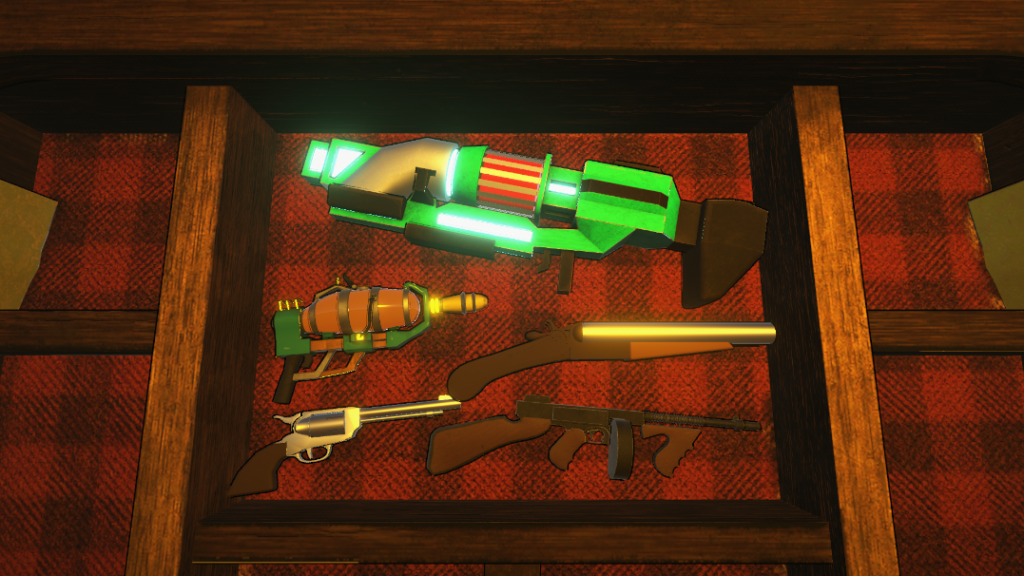
-Revolver, Sawed-Off Shotgun, and Ray Gun
5.) Add detail to primary models and repeat the process for secondary models
Phase 3: Finalize
The fun part! Everything has been leading to this stage.
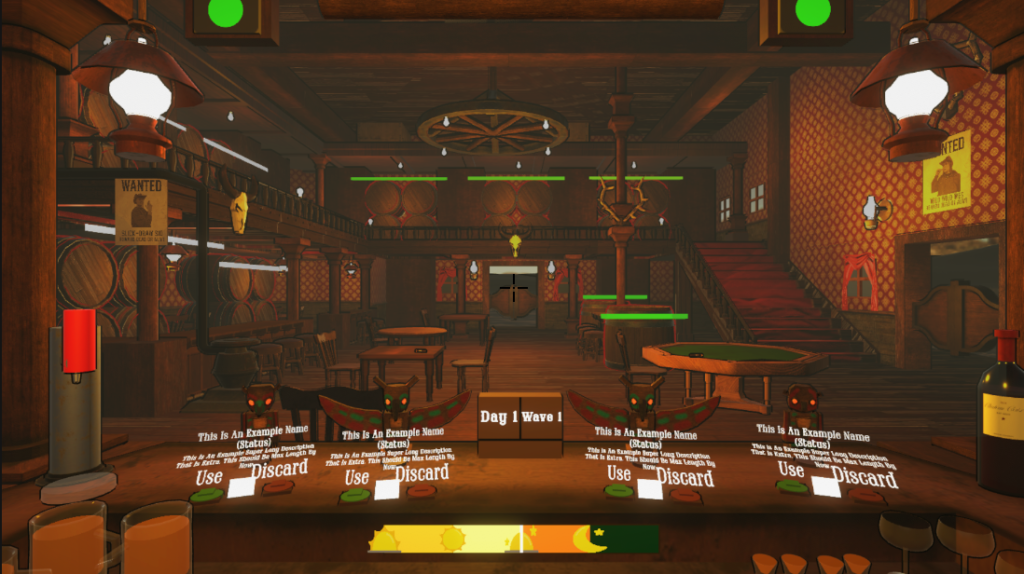
6.) Texture primary models first and with the most detail, then texture secondary with as much effort as the schedule allows
This is an example of how mistakes made in pre-production can bleed into the later stages of development. Because we initially did not plan for many assets, myself and the designers agreed it would benefit us if I hand textured every environment object to make them look like time and effort was put into them. As the scope of the project increased, this proved to be a bad idea as not only was it more work that could have spent elsewhere, it could have negatively impacted the performance of the game.
7.) Override the blockout models upon importing the finalized assets to reduce time deleting the old variants and hand-placing new ones
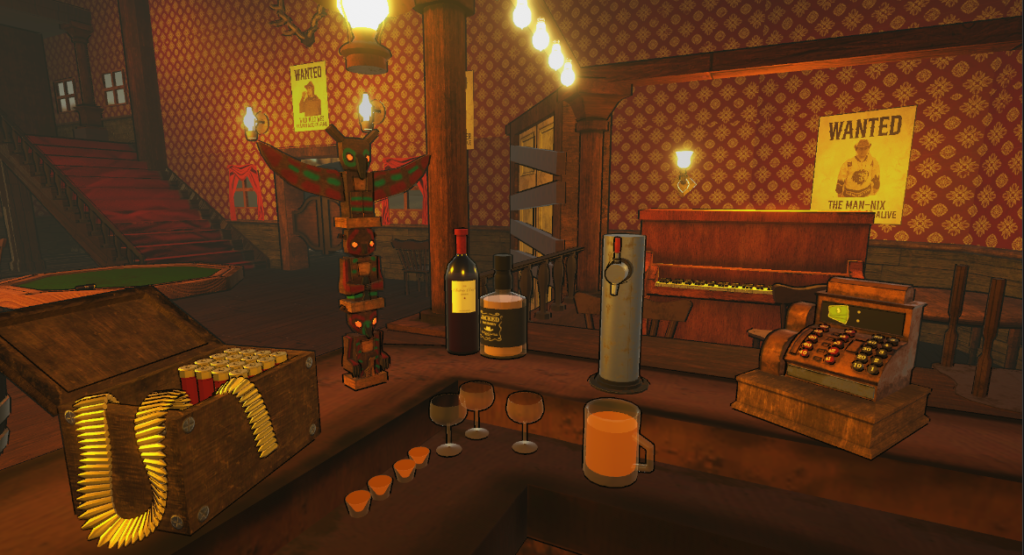
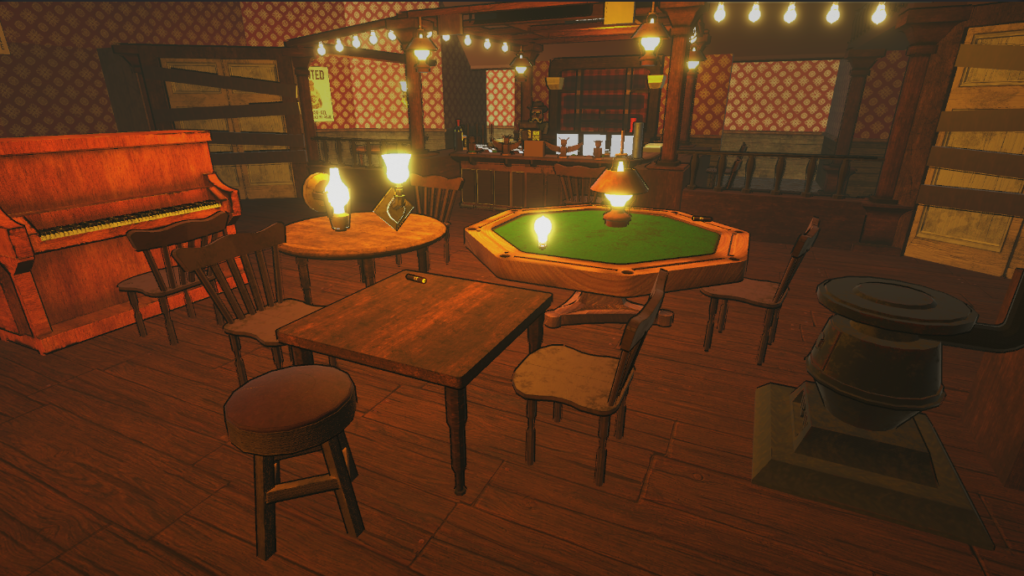
ANIMATION
This side of the project was fairly straightforward. I would receive a model from our character artist and would give it a unique walk cycle and attack animation, and then import the animations to Unity where I would set up an Animator Controller and program the animations to trigger.
The Shooter
The shooter was an enemy that ran around the environment and used its powerful ray gun to try and destroy the saloon.
For their run cycle, I wanted to make it look a little silly, with a lot of bobbing in its steps to sell that it is more of a grunt type of enemy.
When brainstorming the attack animations, I noticed that the Shooter’s model is fairly scrawny and probably would have trouble keeping their balance upon firing the Ray Gun. I thought this helped lean into the more whimsical attitude of the game while also giving the enemy a little bit of character.
The Rusher
The Rusher is a quadrupedal alien that charges at the Barrels that act as the player’s health bar.
The run cycle was made to give off a frantic, aggressive vibe. I used videos of chubby dogs running as a reference, which is where the wagging tail and flapping antennae movements come from.
I animated the Rusher’s attack, like the Shooter, with the goal of giving just a little bit of extra character to them. I did this by making the Rusher fall on its belly upon chomping their jaws, maybe suggesting that this creature wasn’t made for combat.
The Abductor
The Abductor is a brute that slowly makes his way to the line of Customers and snatches one away, taking them back to their spaceship.
Because we needed the enemy to move slower, and his heavy look about him, I made him a walk cycle to match. They slowly lumber forward, heavily swaying their weight side to side as they march toward unsuspecting victims.
The Abductor needed two attack animations: One for busting down the door to the Customers and another for kidnapping them. The abduct animation is more of a snatch, while the two-handed slam is used to destroy the door.
The Customer
The Customer is the only friendly NPC in the game, and is the one the player sees the most of as they interact with the drink-serving mechanics of the game.
We needed an animation for both of the possible outcomes of having the player serve a drink: A correct order and an incorrect order. Getting an order correct pleases the Customer, so he tips his hat to you. If the player gets an order wrong, the Customer is beside himself, throwing up his hands and shaking his head in disbelief.